Form submit in React Functional Component
Posted Dec 24, 2022
Welcome to the #react10 Day 2 challenge.
In this challenge you will be developing a reusable custom form aka submit form in React with functional component in which you can add as much input fields and buttons as you want by sending them as props. You can use that SINGLE component in your future projects too to have login form, registration form or a data creation/updation form for any CRUD functionality.
This form does not add input fields dynamically but it has capability to create multiple fields by sending them as props. So, if you have big project which can have multiple forms, you can create ONE SINGLE CUSTOM FORM COMPONENT and call that wherever you want.
Demo
Get Github Code
Pre-requisites
- Code Editor (like VS Code)
- React basic knowledge (as in this challenge we are not focusing on explaining about the react concepts)
- Basic knowledge of HTML
Lets Begin!
Create a folder structure like this,
-codin
--react10 (this folder we'll use to put all our challenges day wise)
---day2 (open this directory in the vs code)
Final Path: ~codin\react10\day2\
Open terminal in the vs code and run these commands,
> npx create-react-app custom-form
> cd custom-form
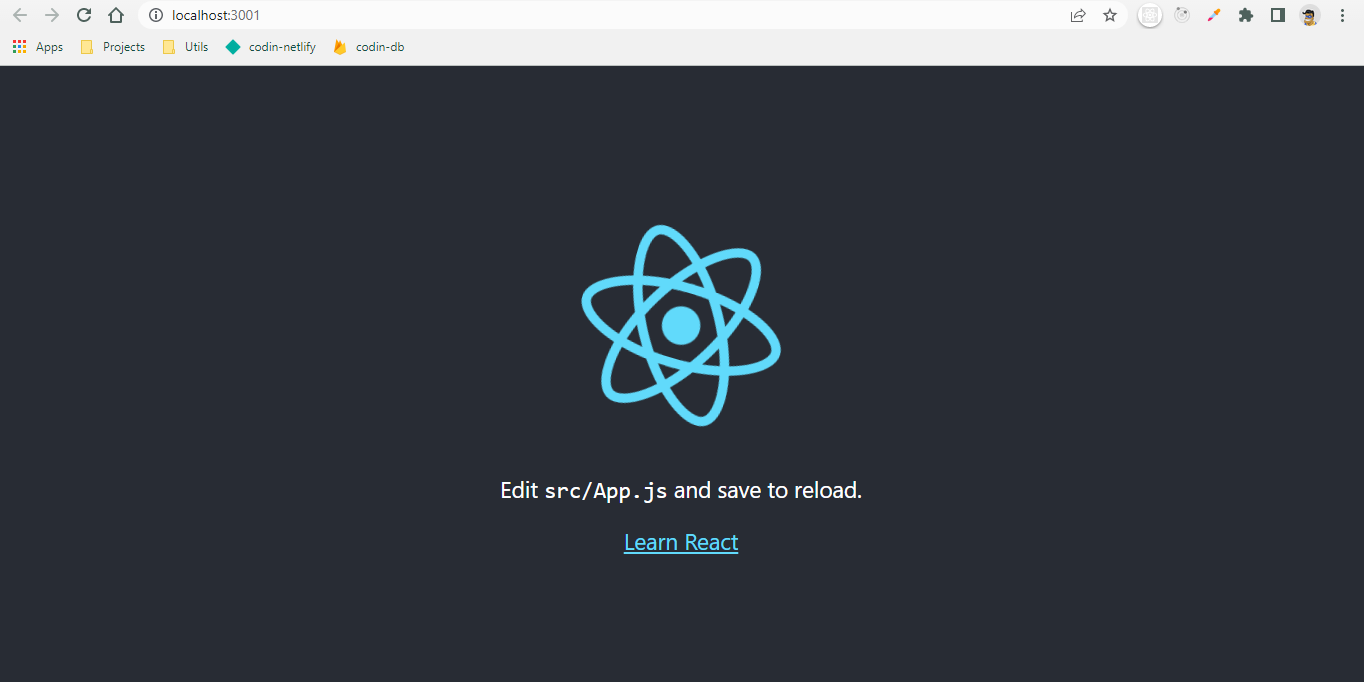
> npm start
After doing all of this, your UI would be like,
Code Cleanup
Delete following files from the file explorer,
counter-game\src\App.css
counter-game\src\App.test.js
counter-game\src\logo.svg
counter-game\src\reportWebVitals.js
counter-game\src\setupTests.js
Remove below lines form index.js
import reportWebVitals from "./reportWebVitals";
reportWebVitals();
Go to App.js and remove these line
import logo from "./logo.svg";
import "./App.css";
and remove all the JSX code and JSX,
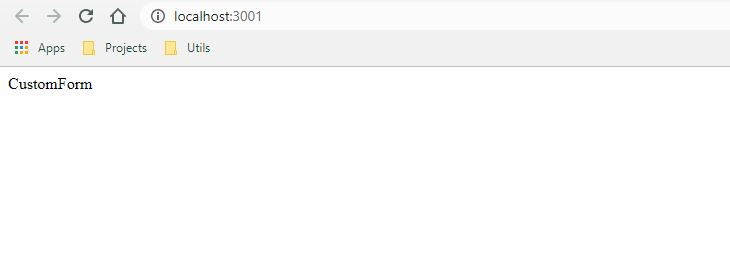
return <div className="App">CustomForm</div>;
Currently, App.js
function App() {
  return <div className="App">CustomForm</div>;
}

export default App;
index.js
import React from "react";
import ReactDOM from "react-dom/client";
import App from "./App";

const root = ReactDOM.createRoot(document.getElementById("root"));
root.render(
  <React.StrictMode>
    <App />
  </React.StrictMode>
);
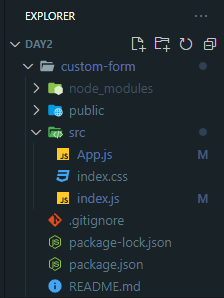
Folder Structure
UI
Run these commands in a new terminal (let the other terminal run our project),
> cd custom-form (run this command if you are in 'react10\day2>' path)
> mkdir src\components\CustomForm
> type NUL > src\components\CustomForm\CustomForm.js
> type NUL > src\components\CustomForm\CustomForm.css
Don't get confused with the above commands, you can also create files or folders using file explorer manually. But if you remember these commands this will help you to increase your productivity and also make you look 'cool' while screen sharing :)
Go to CustomForm.js and add
import React from "react";
import "./CustomForm.css";

function CustomForm() {
  return <div>CustomForm</div>;
}

export default CustomForm;
Import CustomForm.js in App.js like this,
import CustomForm from "./components/CustomForm/CustomForm";

function App() {
  return (
    <div className="App">
      <CustomForm />
    </div>
  );
}

export default App;
Note
Your UI should not have any changes after doing the above steps.
Now add this custom form logic in the CustomForm.js,
//we will take props in 'props' object from the parent component
function CustomForm(props)
//here we are looping through props keys
//and checking if key is 'input' then create an input element in html else a button element
{
  Object.keys(props).map((key) =>
    props[key].isInput ? (
      <>
        <label htmlFor={props[key].label}>{props[key].label}</label>
        <input
          className="form-input"
          key={key}
          ref={props[key].ref}
          type={props[key].type}
          id={props[key].label}
          placeholder={props[key].placeholder}
        />
      </>
    ) : (
      <button
        className="form-button"
        key={key}
        type="submit"
        onClick={props[key].handler}
      >
        {props[key].buttonText}
      </button>
    )
  );
}
Final CustomForm.js
import React from "react";
import "./CustomForm.css";

function CustomForm(props) {
  return (
    <div>
      {Object.keys(props).map((key) =>
        props[key].isInput ? (
          <>
            <label htmlFor={props[key].label}>{props[key].label}</label>
            <input
              className="form-input"
              key={key}
              ref={props[key].ref}
              type={props[key].type}
              id={props[key].label}
              placeholder={props[key].placeholder}
            />
          </>
        ) : (
          <button
            className="form-button"
            key={key}
            type="submit"
            onClick={props[key].handler}
          >
            {props[key].buttonText}
          </button>
        )
      )}
    </div>
  );
}

export default CustomForm;
Usage
We are using useRef hook to link input fields to a reference variable so that we can get the values after submitting the form. It needs bunch of properties to create an input fields or a button and we can call our component like this,
<CustomForm
  username={{
    type: "text",
    label: "Username",
    placeholder: "Enter Username",
    ref: usernameRef,
    isInput: true,
  }}
  loginButton={{
    handler: handleLogin,
    buttonText: "Login",
    isInput: false,
  }}
/>
We also need to create 'ref' for each input field and a handler function for a button.
const usernameRef = useRef();
const handleLogin = () => {
  console.log("login button clicked");
  console.log(usernameRef.current.value);
  console.log(passwordRef.current.value);
};
Final App.js
import { useRef, useState } from "react";
import CustomForm from "./components/CustomForm/CustomForm";

function App() {
  const usernameRef = useRef();
  const passwordRef = useRef();
  const handleLogin = () => {
    console.log("login");
    console.log(usernameRef.current.value);
    console.log(passwordRef.current.value);
    //make a login api call
  };
  const handleRegister = () => {
    console.log("register");
    console.log(usernameRef.current.value);
    console.log(passwordRef.current.value);
    //make a register api call
  };
  return (
    <div className="App">
      <CustomForm
        username={{
          type: "text",
          label: "Username",
          placeholder: "Enter Username",
          ref: usernameRef,
          isInput: true,
        }}
        password={{
          type: "password",
          label: "Password",
          placeholder: "Enter Password",
          ref: passwordRef,
          isInput: true,
        }}
        loginButton={{
          handler: handleLogin,
          buttonText: "Login",
          isInput: false,
        }}
        registerButton={{
          handler: handleRegister,
          buttonText: "Register",
          isInput: false,
        }}
      />
    </div>
  );
}

export default App;
And that's it! you are done with your custom form submit in React Functional Component which you can use in your future projects. ONE PROJECT ONE CUSTOM FORM!
You can also send style props to this component so that it can work with your project theme too.
Styling in CustomForm.css
* {
  font-family: "Poppins", sans-serif;
  letter-spacing: 0.3px;
  color: #3d3d3d;
}

.form-container {
  width: 400px;
  background-color: rgba(255, 255, 255, 0.13);
  position: absolute;
  transform: translate(-50%, -50%);
  top: 50%;
  left: 50%;
  border-radius: 10px;
  border: 2px solid rgba(255, 255, 255, 0.1);
  box-shadow: 0 0 40px rgba(8, 7, 16, 0.2);
  padding: 50px 35px;
  outline: none;
  border: none;
}

label {
  display: block;
  font-size: 15px;
  font-weight: 600;
  margin: 20px;
  margin-bottom: 10px;
}

.form-input {
  border: none;
  color: #383838;
  border-bottom: 2px solid #d1d1d4;
  margin-left: 20px;
  font-weight: 500;
  font-size: 16px;
  height: 30px;
  width: 88%;
  transition: 0.2s;
}

input:focus {
  outline: none;
  border-bottom-color: #6a679e;
}

button {
  width: 40%;
  background-color: #6a56b5;
  color: #e7e7e7;
  margin: 20px;
  height: 40px;
  font-size: 17px;
  font-weight: 500;
  border-radius: 5px;
  cursor: pointer;
  border: none;
  font-family: "Poppins", sans-serif;
}
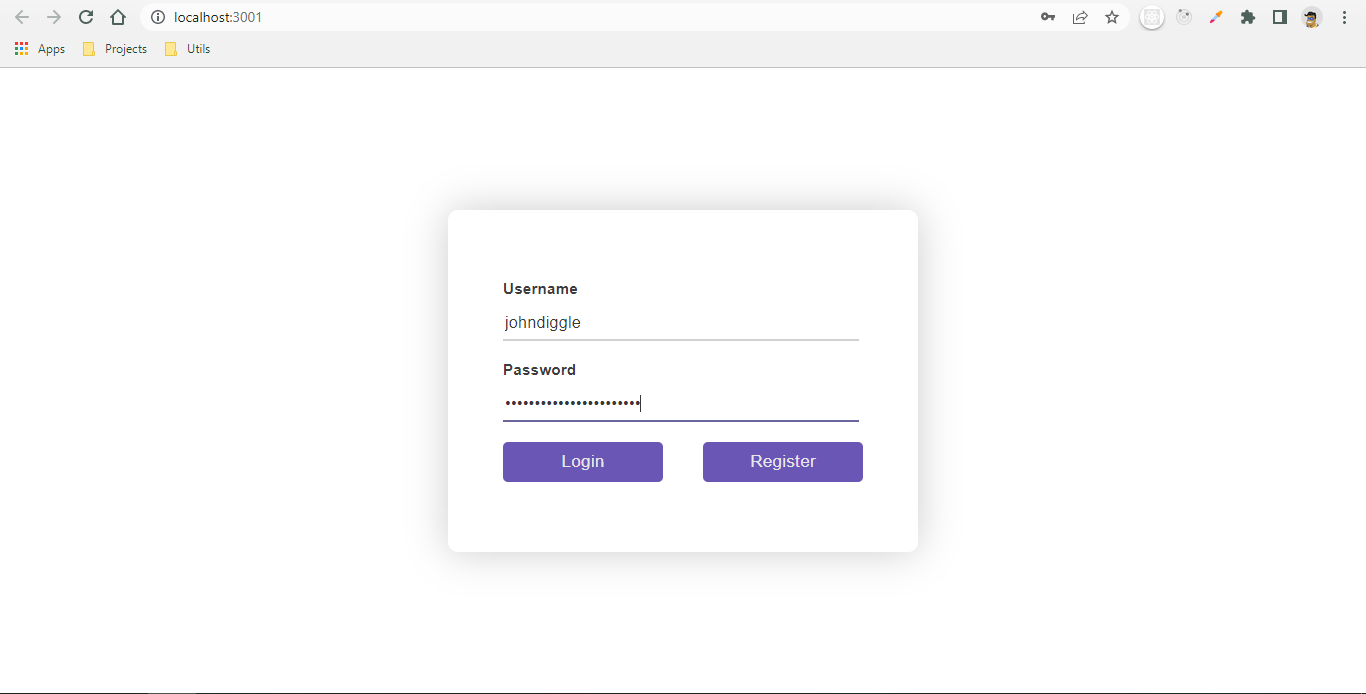
Final Result
To run your localhost project on your Mobile devices -
- open cmd and run command
ipconfig - copy IPv4 Address(looks like - 192.168..*)
- Connect you mobile device with the same WiFi/Internet networt
- Open URL - 192.168..*:3000 (Note : 3000 is your port number in which your project is running)
- Enjoy your form :)
- Come back tomorrow for the #day3 challenge. Good day!